 ultimate-guide
Rewiring a 1960s House Safely: A Complete 2026 Guide
Table of Contents
- Why Rewiring a 1960s House Safely Matters More Than Ever
- Signs a House Needs Rewiring: What 1960s Homes Tell You
- How Long Does It Take to Rewire a House?
- Cost to Rewire a House: What Drives the Price
- Rewiring a House Checklist: From Survey to Sign-Off
- Safety Checklist and Common Mistakes to Avoid
- Conclusion
- Frequently Asked Questions
Last Updated: October 17, 2026
Why Rewiring a 1960s House Safely Matters More Than Ever
Rewiring a 1960s house safely is the single most important electrical upgrade you can make to a property built in that era. Much of the housing stock from that decade still runs on rubber-insulated and lead-sheathed cables that were never designed to carry modern electrical loads, and those materials degrade with age regardless of how well the home has been maintained.
At Project Rewire, we have spent over a decade working on exactly these properties across Glasgow, Renfrewshire and Ayrshire. According to Electrical Safety First guidance on older wiring, ageing installation materials are a leading cause of domestic electrical fires, and the risk climbs sharply once cabling passes its expected service life.
The urgency is not just about safety. Modern households draw far more current than a 1960s installation was ever sized for: heat pumps, induction hobs, EV chargers, home offices and multiple high-draw appliances on one ring final. A circuit designed for a few lamps and a television will not cope, and the symptoms (flickering lights, warm sockets, tripping breakers) are the installation telling you it has reached its limit.
Below, we break down the warning signs, the realistic timeline, what drives the cost, and a practical checklist so you know exactly what a proper rewire involves before anyone touches your walls.
Signs a House Needs Rewiring: What 1960s Homes Tell You
The clearest signs a house needs rewiring are a lack of modern earthing, no residual current device protection, and cable insulation that crumbles or feels brittle when disturbed. In a 1960s property, these are not occasional faults; they are the expected condition of an untouched installation.
Outdated Components to Look For
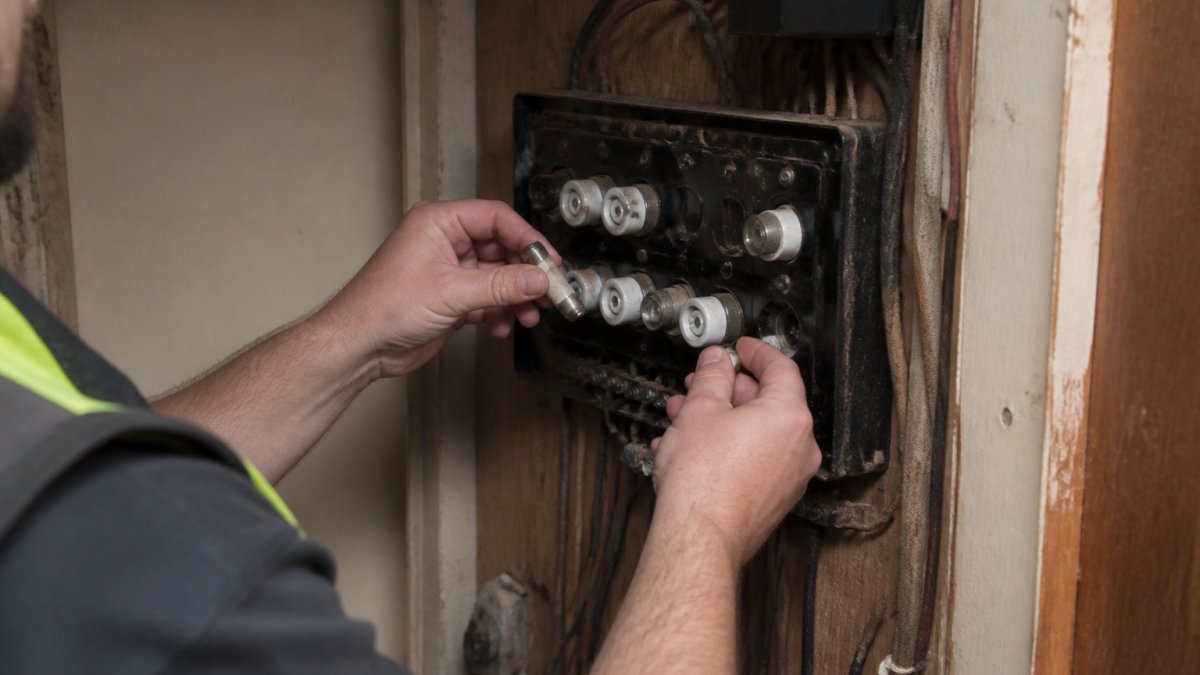
- Rubber-insulated cables (VIR): Common in 1960s builds, the rubber hardens and cracks with heat cycling, exposing conductors.
- Lead-sheathed or fabric-wrapped cable: Found in older runs, it offers no modern mechanical protection and fails insulation resistance tests.
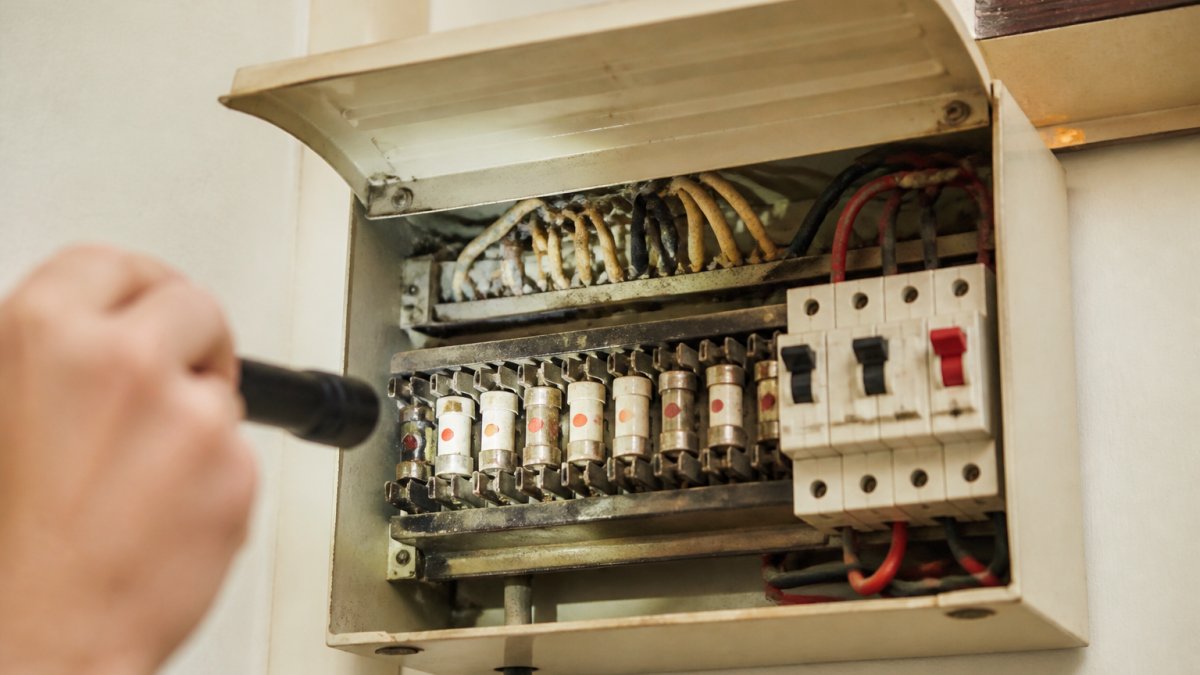
- Rewirable ceramic fuses: No circuit breaker protection, so a fault can persist rather than trip cleanly.
- No RCD protection: Modern regulations require residual current device protection on socket outlets in most domestic situations to reduce shock risk.
- Two-core lighting circuits with no earth: A frequent finding in 1960s lighting, which blocks the safe fitting of metal light fittings and many smart switches.
- Aluminium wiring in some runs: Less common but present in a minority of properties, and it needs different termination methods to copper.
If any of these are present, a partial fix rarely solves the underlying problem. The cable itself is the issue, and cable is buried in the fabric of the building.
How Long Does It Take to Rewire a House?
The timeline for a full rewire depends on the number of circuits, whether you are living in the property, and how much making good and redecoration follows the electrical work.
Two factors stretch the schedule. First, occupied homes slow everything down because we work room by room to keep power on where possible. Second, older properties often hide surprises: no earth continuity, unexpected asbestos in boards, or previous DIY alterations that need correcting before new work can be certified.
Cost to Rewire a House: What Drives the Price
The cost to rewire a house depends on property size, circuit count, access, and whether you are living in the property during the work. There is no single figure that applies to every 1960s home, and any quote that does not follow a survey should be treated with caution.
The main drivers are:
- Number of circuits and points: More sockets, lighting zones and dedicated appliance circuits increase labour and materials.
- Consumer unit specification: A modern board with RCD protection and surge protection costs more than a basic replacement.
- Access and making good: Solid walls, finished ceilings and occupied rooms all add time.
- Additional works: EV charger provision, garden power, or smart lighting wiring.
- Certification and testing: Full testing and a compliant certificate are non-negotiable and form part of the price.
Because pricing varies so much by property, we do not publish a flat rate. For current pricing on your property, request a quote from Project Rewire and we will survey the installation before committing to a figure.
| Cost Driver | What It Affects | Why It Matters |
|---|---|---|
| Property size | Number of circuits and points | Bigger homes need more cable and labour |
| Occupancy | Working around furniture and power | Slower progress, more protection needed |
| Access | Chasing walls, lifting floors | More making good after the work |
| Consumer unit spec | RCD and surge protection | Compliance and future-proofing |
| Extra circuits | EV, garden, smart lighting | Added materials and testing |
Rewiring a House Checklist: From Survey to Sign-Off
A structured rewiring a house checklist keeps the project on track and ensures nothing is signed off before it is genuinely safe. Here is the sequence we follow.
- Initial survey: Inspect the existing installation, identify cable types, earthing arrangements and any non-compliant alterations.
- Written quote and scope: Agree circuits, points, consumer unit specification and what making good is included.
- Isolate and plan: Agree a room-by-room schedule to keep power on where possible.
- First fix: Run new cable, fit back boxes and install the consumer unit.
- Second fix: Fit sockets, switches and light fittings.
- Testing and certification: Complete insulation resistance, continuity and RCD tests, then issue the certificate.
- Sign-off and handover: Walk through the installation, explain the consumer unit, and provide documentation.
What you'll need before work starts:
- Clear access to lofts, under-floor areas and the consumer unit position
- A decision on light fitting and socket finishes
- Agreement on any additional circuits (EV charger, garden, outbuilding)
- Confirmation of who handles redecoration after making good
As documented in NAPIT guidance for homeowners on choosing a registered electrician, using a registered competent person means the work is tested, certified and backed by a recognised scheme, which protects you if anything goes wrong later.
Safety Checklist and Common Mistakes to Avoid
The most common and costly mistake is treating a rewire as a cosmetic job and cutting corners on certification. A rewire that is not properly tested and certified is not a rewire; it is an unverified risk.
Safety checklist:
- Confirm the electrician is registered with a competent person scheme (NAPIT or equivalent)
- Ensure the new consumer unit includes RCD protection on socket circuits
- Verify earthing and bonding are tested and compliant
- Confirm all circuits are insulation-resistance tested before energising
- Obtain the Electrical Installation Certificate on completion
- Keep the certificate with your property documents for future sales or lettings
Mistakes we see repeatedly:
- Patching instead of rewiring: Replacing a consumer unit on old rubber cable hides the real problem and can fail testing.
- No certification: Skipping the certificate leaves you unprotected and can invalidate insurance.
- Ignoring earthing in lighting circuits: This blocks safe metal fittings and smart switches.
- Living in the property with no plan: Without a room-by-room schedule, power outages drag on and stress rises.
Conclusion
Rewiring a 1960s house is a significant undertaking, but the alternative, living with ageing cable, no RCD protection and circuits that cannot meet modern demand, is a risk no homeowner or landlord should carry. The right approach is a proper survey, a clear scope, and certified work from a registered electrician.
Project Rewire is a NAPIT-approved contractor with over a decade of experience specialising in domestic rewiring, and every rewiring job we complete is backed by a 10-year guarantee. Our fully qualified engineers handle everything from the initial survey through to certification, and we respond quickly to electrical emergencies when something fails.
Get a quote from Project Rewire and secure a safe, compliant, modern electrical system for your property.
Frequently Asked Questions
Does a house built in the 1960s need rewiring?
Not automatically, but most 1960s homes still run on original rubber-insulated cables and fuse boxes that were never designed for modern demand. Rubber insulation hardens and cracks with age, and old consumer units lack residual current device protection. An EICR will tell you whether the installation is safe or needs replacing. If the wiring has never been updated, rewiring a 1960s house is usually the sensible route.
How can I tell if the wiring in my house is unsafe?
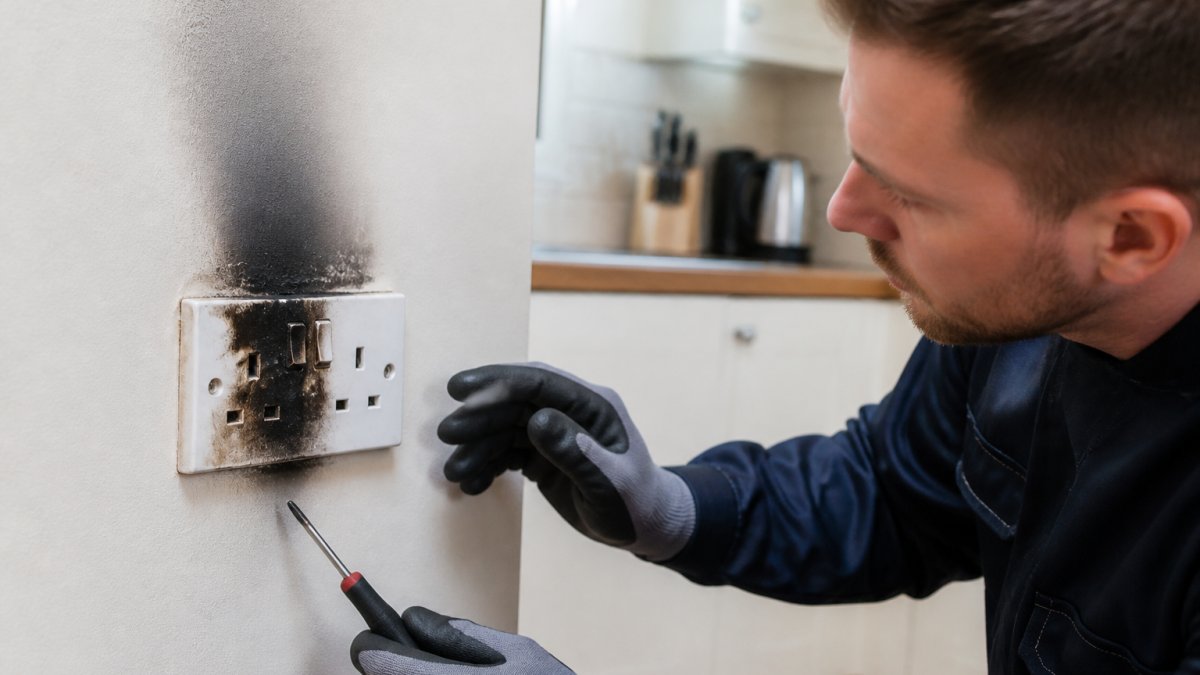
Watch for flickering lights, sockets that feel warm, burning smells near outlets, frequent fuse trips, and round-pin sockets or black rubber cables. These are classic signs a house needs rewiring. If your consumer unit still holds ceramic fuses or a wooden backboard, treat it as a warning. A qualified electrician can carry out an EICR to confirm the condition of the installation.
How long does it take to rewire a 1960s house?
The time it takes for a full rewire depends on size, access, and whether you are adding circuits. Older properties with solid walls or extensive chasing can take longer. Your electrician should give you a realistic schedule before work starts so you can plan around any days without power.
Can you live in a house while it is being rewired?
Most homeowners do stay put, but expect disruption. Power will be off for periods each day, floorboards will be lifted, and walls may be chased for new cables. Agree a room-by-room plan with your electrician so you always have a working socket and lighting in at least one area. If you have young children or work from home, consider timing the work around that.
Who is qualified to carry out electrical rewiring?
In the UK, anyone working on domestic electrics must be competent and the work must comply with BS 7671. For notifiable work, use a registered competent person scheme member, such as a NAPIT-approved contractor. They can self-certify that the work meets Building Regulations and issue the certificates you need for insurance, sales, or lettings.
What electrical checks should be done before buying an older house?
Commission an EICR before you exchange contracts. It assesses the condition of the wiring, consumer unit, earthing, and bonding, and gives each item a code. A C1 or C2 result means unsafe or potentially unsafe conditions that need attention. Use the report to negotiate or budget for rewiring a 1960s house if the installation is past its life.
What happens during a full house rewire?
The electrician isolates the supply, removes old cables and the consumer unit, then runs new circuits for sockets, lighting, heating, and any extras like EV charging. Floorboards come up, walls may be chased, and a new consumer unit with RCD protection is fitted. Once tested, you receive an Electrical Installation Certificate confirming the work meets current standards.